
Welcome to the guide for your GE Self-Cleaning Oven. This manual provides essential information on using and maintaining your oven’s self-cleaning feature effectively. Learn about safety, operation, and care tips to ensure optimal performance and longevity of your appliance.

Key Features of GE Self-Cleaning Ovens
GE self-cleaning ovens are designed with advanced features to simplify maintenance and enhance cooking efficiency. One of the standout features is the high-temperature cleaning cycle, which reaches up to 880°F to burn away food residue, leaving behind a lightweight ash that’s easy to wipe away. These ovens are equipped with a pyrolytic coating, eliminating the need for harsh chemicals or manual scrubbing. Additionally, models often include automatic door locking for safety during the cleaning process. Some units feature smart connectivity, allowing users to monitor and control the oven via a smartphone app. Energy efficiency and even heat distribution are also key benefits, ensuring consistent cooking results while minimizing energy consumption.
Safety Instructions for Self-Cleaning Ovens
Always ensure proper ventilation to minimize exposure to emissions; Avoid touching hot surfaces during cleaning. Keep children away from the oven during the self-cleaning process. Never use aluminum foil improperly, as it may cause hazards. Follow all instructions in the manual carefully to ensure safe operation.
Importance of Ventilation During Cleaning
Proper ventilation is crucial during the self-cleaning cycle to prevent the buildup of harmful fumes. The high temperatures in the oven release carbon monoxide and strong odors from food residue and fiberglass insulation. Opening windows or using a ventilation fan can significantly reduce exposure to these emissions. Ensuring good airflow helps maintain indoor air quality and safety. Failure to ventilate may lead to unpleasant smells lingering in your home. Always prioritize ventilation to create a safer and more comfortable environment during the cleaning process.
Protective Measures for Users
Using a GE self-cleaning oven requires adherence to safety guidelines to protect users from potential hazards. Never touch oven surfaces during or after the cleaning cycle, as they become extremely hot. Keep children and pets away from the oven while it is in operation. Avoid using aluminum foil in the oven, as it can cause fire hazards or damage. Do not use commercial oven cleaners, as they are unnecessary and may harm the self-cleaning coating. Always ensure the oven door is closed and latched securely during the cycle. Proper ventilation is essential to prevent exposure to fumes. Following these protective measures ensures a safe and effective cleaning process for both you and your appliance.
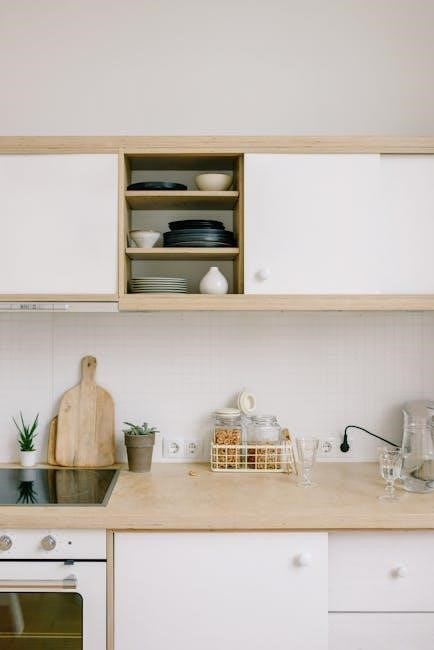
Preparing Your Oven for Self-Cleaning
Before starting the self-cleaning cycle, remove racks, accessories, and food debris. Wipe down excess spills to minimize smoke. Ensure the oven is empty except for racks designed to stay inside. Always refer to your specific model’s manual for detailed preparation steps.
Removing Racks and Accessories
Before initiating the self-cleaning cycle, it is essential to remove all racks, pans, and accessories from the oven. This ensures they are not exposed to the extreme heat generated during cleaning, which could damage or warp them. For racks that are designed to remain in the oven during cleaning, refer to your specific model’s manual for guidance. Always handle racks and accessories with care, as they may be hot or difficult to maneuver. Remove any cookware, drip pans, or utensils to prevent potential hazards or damage. This step helps ensure a safe and effective cleaning process. Always prioritize safety when preparing your oven for self-cleaning.
Protecting Surrounding Surfaces
When using the self-cleaning feature on your GE oven, it is crucial to protect surrounding surfaces from heat and potential residue; Cover nearby countertops, tables, and floors with heat-resistant materials or drop cloths to prevent damage from extreme temperatures or ash. Ensure the area around the oven is clear of flammable materials, such as curtains or towels, to minimize fire risks. Additionally, proper ventilation is key to reducing exposure to fumes released during the cycle. Open windows or use an exhaust fan to maintain air quality. Always follow the manufacturer’s instructions to ensure safety and protect your home during the self-cleaning process. This step is vital for maintaining a safe and clean environment.
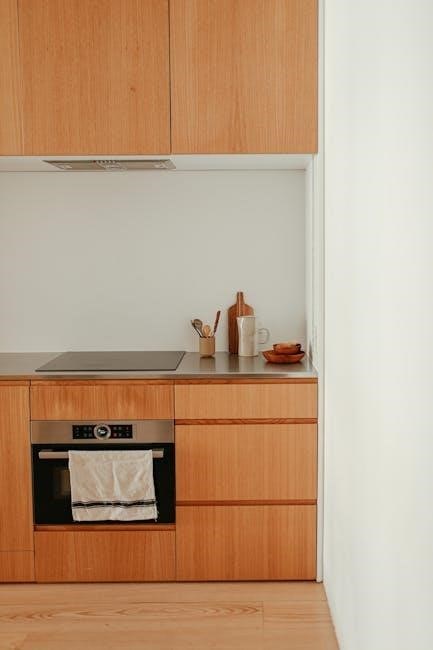
The Self-Cleaning Process
The self-cleaning process uses high heat to burn food residue into ash. The oven door locks during cleaning, ensuring safety. The cycle lasts several hours, leaving surfaces clean.
How the Self-Cleaning Cycle Works
The self-cleaning cycle operates by heating the oven to extremely high temperatures, typically around 880°F, to burn away food residue and grease. This process converts tough stains into ash, which can be easily wiped away after cooling. The oven door locks during the cycle to ensure safety and retain heat. The cycle duration varies but usually lasts 2-4 hours, depending on soil level. Proper ventilation is crucial, as the high heat releases fumes and small amounts of carbon monoxide. The oven’s insulation and locking mechanism are designed to handle these conditions safely. Always follow the manufacturer’s guidelines for optimal results and safety.
Starting the Self-Cleaning Cycle
To begin the self-cleaning cycle, ensure all racks, broiler pans, and cookware are removed from the oven. Wipe up any excess spills or debris to prevent smoke during cleaning. Close the oven door and, if your model has a latch release button, press and hold it while sliding it to the clean position. Select the self-clean option on the control panel and choose the recommended duration based on soil level. The oven will automatically lock the door and start heating to a high temperature. Ensure proper ventilation by opening windows or using a ventilation fan. Do not open the door during the cycle, as it will remain locked for safety. Let the cycle complete, then allow the oven to cool before wiping away ash. Keep children and pets away during operation.
Monitoring the Cleaning Process
During the self-cleaning cycle, the oven will operate at very high temperatures, and the door will remain locked for safety. Monitor the process by ensuring proper ventilation, as fumes and odors may be released. Open windows or use a ventilation fan to minimize exposure. Avoid opening the oven door during the cycle, as it will stay locked until the process is complete and the oven cools down. You may hear noises or notice a burning smell, which is normal as food residue is burned away. Keep children and pets away from the oven during operation. Once the cycle finishes, allow the oven to cool before handling or cleaning up any ash residue.
Post-Cleaning Maintenance
After the self-cleaning cycle, allow the oven to cool. Wipe surfaces with a damp cloth to remove ash. Clean the exterior gently to maintain appearance.
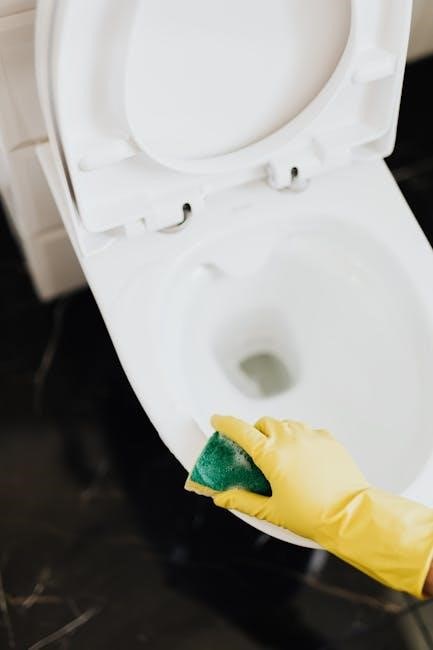
Handling Ash and Residue
After the self-cleaning cycle, allow the oven to cool completely before handling any ash or residue. Use a damp cloth to wipe away loose ash, as dry sweeping can create dust. Avoid inhaling ash particles, as they may contain harmful substances. For tougher residue, mix mild soap with warm water and apply gently with a non-abrasive sponge. Avoid using harsh chemicals or abrasive cleaners, as they can damage the oven’s finish. Properly dispose of ash and residue in a sealed container to prevent spreading. Always wear gloves and a mask when handling ash to protect yourself from potential irritants.
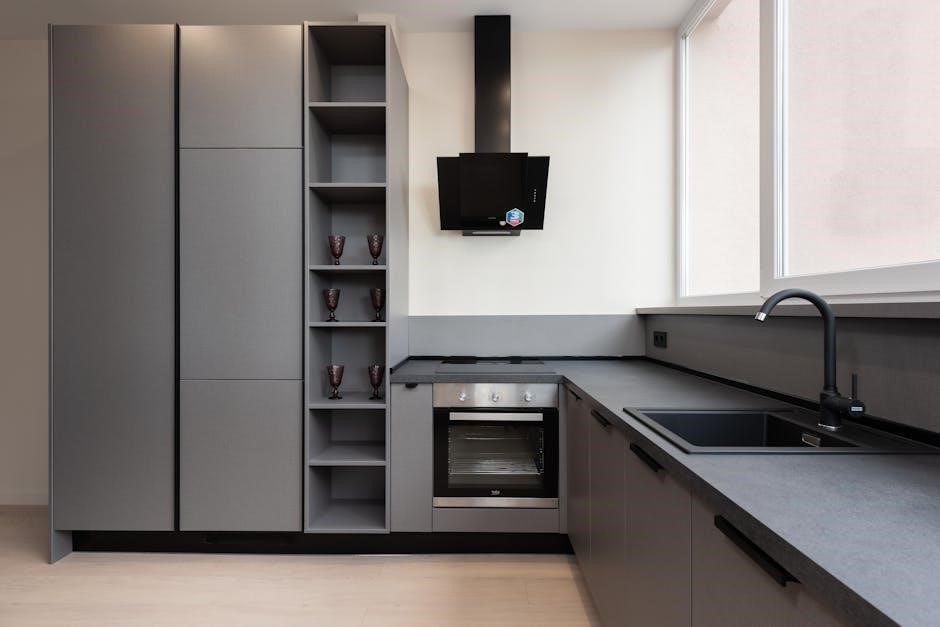
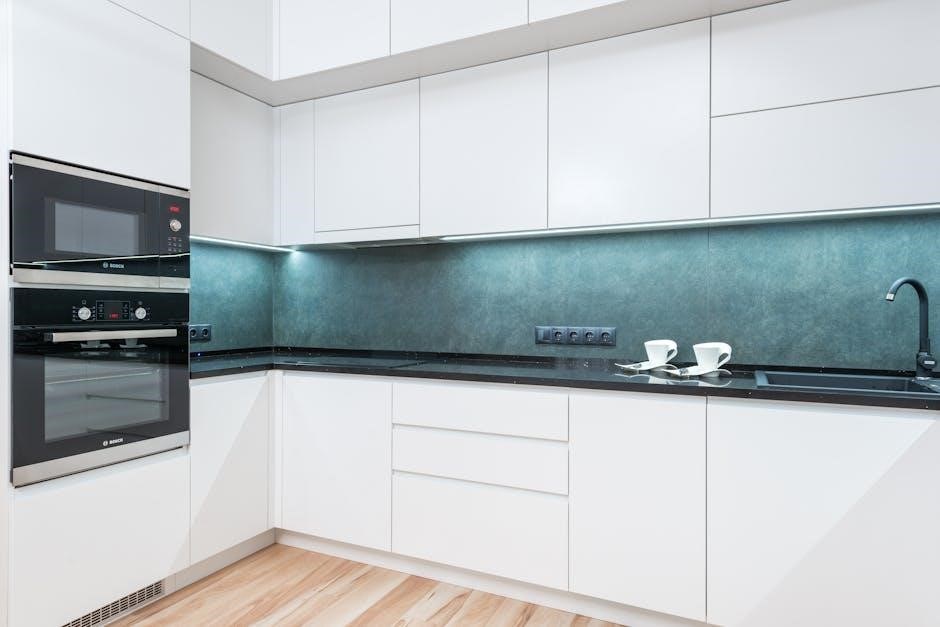
Cleaning the Oven Exterior
Regular cleaning of the oven exterior is essential to maintain its appearance and functionality. Turn off the oven and allow it to cool completely before cleaning. Use a soft, damp cloth to wipe down the exterior surfaces, removing any splatters or spills. For tougher stains, mix a small amount of mild soap with warm water and apply gently with a non-abrasive sponge. Avoid using abrasive cleaners, bleach, or harsh chemicals, as they may damage the finish. For stainless steel surfaces, use a stainless steel cleaner and a microfiber cloth to prevent streaks. Never use scouring pads or rough materials, as they can scratch the surface. Regular wiping with a damp cloth will help prevent grime buildup and keep your oven looking new.
Troubleshooting Common Issues
If your GE self-cleaning oven experiences issues, start by checking the power supply and ensuring the oven is properly plugged in. If the oven doesn’t start, verify that the door is closed securely and the child safety lock is not engaged. Error codes may appear; refer to your manual for specific code meanings. After a self-cleaning cycle, the oven may emit a burning smell due to residual food particles. Ensure proper ventilation to minimize odors. If the oven overheats, turn it off and let it cool before restarting. Avoid using aluminum foil incorrectly, as it can cause damage. For persistent problems, consult the manual or contact GE customer support for assistance. Regular maintenance can prevent many common issues.
Tips for Maintaining Your Oven
Regular maintenance ensures your GE self-cleaning oven performs optimally. After each use, wipe down the oven interior with a damp cloth to remove food splatters. Avoid using harsh chemicals, as they can damage the pyrolytic coating. For tougher spills, let them cool before scraping gently with a soft brush or non-abrasive tool. Clean racks and accessories separately with mild soap and water. Ensure proper ventilation during and after cleaning cycles to prevent lingering odors. Avoid using aluminum foil improperly, as it can cause damage. Check and clean the vent hood regularly to maintain airflow. For the exterior, use a gentle cleanser to keep it stain-free. Refer to your manual for specific care instructions tailored to your model.
Alternative Cleaning Methods
While the self-cleaning feature is highly effective, there are alternative methods to maintain your GE oven. For lighter cleaning, use a damp cloth to wipe down the interior after cooling. For tougher stains, mix baking soda and water to create a paste, apply it to the stained areas, and let it sit overnight before wiping clean. Avoid using harsh chemicals or abrasive cleaners, as they can damage the oven’s finish. Steam cleaning with water is another gentle option to loosen food residue. Always avoid using aluminum foil improperly, as it can cause damage. For exterior cleaning, use a mild detergent and soft cloth to maintain the appearance. Remember to consult your manual for model-specific advice.
Warranty and Customer Support
GE Appliances offers a comprehensive warranty program for their self-cleaning ovens, ensuring coverage for parts and labor under specific conditions; For detailed warranty terms, refer to the provided manual or visit the official GE Appliances website. Customer support is available to address any questions or concerns, with options to contact via phone, email, or live chat. Additionally, GE provides online resources, including troubleshooting guides and downloadable manuals, to help users resolve issues independently. The connected appliance information label on your oven includes details for network setup and support access. Always register your appliance to maximize warranty benefits and receive updates on maintenance and features.
Care and Maintenance Tips
Regular maintenance ensures your GE self-cleaning oven performs optimally. Wipe down surfaces after each use to prevent food residue buildup. Avoid using abrasive cleaners or scouring pads, as they may damage the finish or interior. Clean oven racks by removing them during the self-cleaning cycle or washing them manually with mild soap. For exterior surfaces, use a damp cloth and gentle detergent to maintain appearance. Always follow the manual’s guidelines for approved cleaning products. Check for food spills before cleaning to ensure a smooth process. Proper care extends the lifespan of your oven and keeps it in excellent condition for years of reliable service.