
The UT UL-Tech Security System offers advanced surveillance solutions, featuring 1080P resolution, eight-channel DVR, and weatherproof cameras. Designed for both home and business use, it ensures reliable monitoring and remote access capabilities, providing users with a robust and user-friendly security experience.
1.1 Overview of the UT UL-Tech User Manual
The UT UL-Tech User Manual is a comprehensive guide designed to help users navigate and optimize their security system. It covers essential topics such as installation, configuration, and troubleshooting, ensuring a smooth setup process. The manual also details advanced features like motion detection, remote viewing, and recording management. With clear instructions and detailed diagrams, it empowers users to maximize their system’s potential while addressing common queries and technical support options for uninterrupted security monitoring.
1.2 System Requirements and Compatibility
The UT UL-Tech Security System is designed to operate with a 1TB or 4TB hard drive, supporting 1080P resolution and 8-channel DVR functionality. It is compatible with both wired and wireless networks, ensuring seamless connectivity. The system works with Windows, Mac, and mobile operating systems, allowing remote access through browsers like Chrome, Firefox, and Safari. Weatherproof cameras (IP66 rated) are included, ensuring durability in outdoor conditions. A 12V/2A power supply is required for optimal performance, making it suitable for various environments and user needs.

Installation and Setup Guide
The UT UL-Tech Security System installation involves mounting cameras, connecting the DVR, and configuring network settings. The user manual provides step-by-step guidance for a seamless setup process.
2.1 Hardware Installation Steps
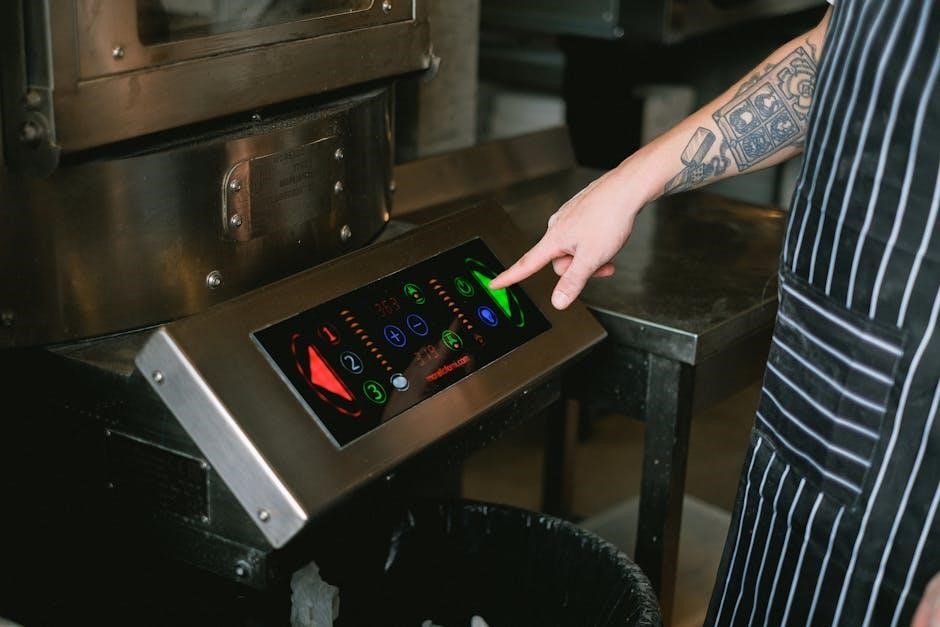
To install the UT UL-Tech Security System hardware, start by unboxing and inventorying components, including cameras, DVR, and accessories. Mount cameras indoors or outdoors using provided screws, ensuring optimal viewing angles. Connect cameras to the DVR via HDMI or RCA cables, and install the 1TB hard drive for storage. Plug in the 12V/2A power supply to the DVR and cameras. Use the USB mouse for navigation. Refer to the user manual for detailed mounting and wiring instructions to ensure a secure setup. Proper installation ensures reliable performance and clear video quality.
2.2 Software Installation and Configuration
Install the UT UL-Tech software by inserting the provided CD or downloading from the official website. Follow on-screen instructions to install the DVR software. Configure network settings to enable remote access, ensuring the DVR is connected to your router. Set up user accounts and passwords for secure access. Use the USB mouse to navigate the interface and configure recording schedules, motion detection, and alert systems. Refer to the user manual for detailed guidance on optimizing settings for seamless performance and remote monitoring capabilities.

Key Features of the UL-Tech Security System
The UL-Tech Security System features 1080P resolution, eight-channel DVR, weatherproof cameras, remote viewing, motion detection, and scheduling capabilities, ensuring comprehensive surveillance and user-friendly monitoring solutions.
3.1 Camera Specifications and Capabilities
The UL-Tech security cameras feature 1080P high-definition resolution, ensuring crisp and clear video quality. Designed with weatherproof exteriors, they are suitable for both indoor and outdoor installations. Equipped with night vision capabilities, these cameras provide reliable surveillance even in low-light conditions. Additionally, they support wide-angle lenses, capturing more of the surroundings for enhanced coverage. Motion detection sensors are integrated, alerting users to any unusual activity. These cameras also offer seamless connectivity options, ensuring they integrate effortlessly with the DVR and other system components for optimal performance and monitoring.
3.2 DVR Features and Functionalities
The UL-Tech DVR supports up to 8 channels, offering simultaneous recording and playback. It comes with a pre-installed 1TB or 4TB hard drive, providing ample storage for video footage. The DVR features motion detection, alert notifications, and scheduled recording options. Users can access live footage remotely via the mobile app. It also supports network connectivity, enabling seamless integration with cameras and remote devices. The DVR’s user-friendly interface allows for easy configuration and management of settings, ensuring efficient and reliable security monitoring.
Network Configuration and Connectivity
Ensure a stable connection for remote monitoring. Follow setup guides for wired or wireless configurations. A reliable network enables live footage access and recording management.
4.1 Setting Up a Wired Connection
Connect the UT UL-Tech DVR to your router using an Ethernet cable. Ensure the DVR is powered on and the cable is securely attached to both devices. Access the system through a computer or mobile device by entering the default IP address in a web browser. Follow the on-screen instructions to configure network settings.Refer to the user manual for detailed steps and troubleshooting tips. A stable wired connection ensures reliable remote monitoring and recording capabilities.
4.2 Configuring Wireless Network Settings
To set up wireless connectivity for your UT UL-Tech system, access the DVR’s menu and navigate to network settings. Select your Wi-Fi network from the available options and enter the password. Ensure DHCP is enabled for automatic IP assignment. Restart the system to apply changes. For remote access, configure port forwarding on your router and use the mobile app to connect to the DVR. Refer to the user manual for detailed instructions and troubleshooting wireless connectivity issues.
Remote Access and Monitoring
Remote access allows users to view live footage and manage recordings via the mobile app, ensuring constant monitoring and peace of mind while away from home.
5.1 Mobile Application Setup for Remote Viewing
To set up remote viewing via the mobile app, download and install the UT UL-Tech app from the App Store or Google Play. Open the app and register your device using the system’s unique ID, found in the DVR settings. Ensure your smartphone and DVR are connected to the same network. Follow in-app instructions to link your cameras and configure remote access. Test the connection to verify live footage streaming. The app supports both iOS and Android, offering a user-friendly interface for real-time monitoring and alerts. This setup ensures seamless remote surveillance from anywhere. Compatibility with various devices guarantees a secure and reliable experience.
5.2 Live Footage and Recording Management
The UT UL-Tech system allows users to stream live footage directly from their cameras via the DVR. Recordings are stored on the built-in hard drive, with options for motion detection and scheduled recording. The DVR’s interface enables easy playback, with features like date/time search and video clipping. Users can manage storage by setting overwrite preferences or expanding capacity with additional drives. Remote access allows viewing live and recorded footage on mobile devices, ensuring continuous monitoring and efficient management of security data. This feature enhances security and provides peace of mind.
Advanced Settings and Customization
The UT UL-Tech system offers advanced customization options, including motion detection, alert systems, and scheduling. These features enhance security and user experience through tailored settings.
6.1 Motion Detection and Alert Systems
The UT UL-Tech Security System features advanced motion detection, enabling alerts for unusual activity. Users can customize sensitivity levels and set specific alert zones, ensuring accurate notifications. The system sends real-time alerts via email or mobile app, enhancing security monitoring. Customizable alert schedules and notification preferences allow users to tailor the system to their needs, providing reliable and efficient security solutions. This feature ensures prompt responses to potential threats, offering peace of mind for home or business environments.
6.2 Scheduling Recordings and Playback
The UT UL-Tech Security System allows users to schedule recordings according to specific needs, with options for continuous, motion-based, or timed recording modes. The intuitive interface enables easy setup of recording schedules, ensuring seamless operation. Playback functionality offers time-stamped searches, enabling quick access to specific events; Users can also export video clips or back up recordings to external storage, ensuring critical footage is preserved. This feature enhances surveillance efficiency and provides reliable evidence management for security purposes.
Troubleshooting Common Issues
Common issues include network connectivity problems and DVR malfunctions. Solutions involve checking connections, restarting devices, and consulting the user manual for troubleshooting steps. Contact support if issues persist.
7.1 Resolving Network Connectivity Problems
Network issues can prevent remote access and live viewing. Check all physical connections, ensure the router is functioning, and restart devices. Verify network settings in the DVR and camera configurations. If issues persist, consult the user manual for detailed troubleshooting steps or contact UT UL-Tech customer support for assistance. Ensuring a stable connection is crucial for optimal system performance and remote monitoring capabilities.
7.2 Addressing DVR and Camera Malfunctions
For DVR or camera malfunctions, start by power cycling the device. Disconnect power, wait 30 seconds, and reconnect. Check all cable connections and ensure they are secure. If issues persist, update the firmware to the latest version. Consult the user manual for specific troubleshooting steps or contact UT UL-Tech customer support for professional assistance. Regular maintenance and updates can help prevent such malfunctions and ensure optimal system performance.
Customer Support and Resources
UT UL-Tech offers 24/7 customer support. Visit our website for FAQs, user manuals, and contact information. Our team is ready to assist with any inquiries or issues.
8.1 Contacting UT UL-Tech Customer Support
For assistance, contact UT UL-Tech support via phone, email, or live chat. Visit the official website for contact details. The support team is available 24/7 to resolve issues, provide troubleshooting, and answer questions about your security system. Ensure to have your product details ready for efficient service. Additionally, the website offers a comprehensive FAQ section and downloadable resources for quick solutions to common queries.
8.2 Accessing Online Manuals and FAQs
To access the UT UL-Tech Security System’s online manuals and FAQs, visit the official UT UL-Tech website. Navigate to the ‘Support’ section, where you’ll find comprehensive resources, including downloadable user manuals, troubleshooting guides, and frequently asked questions. These resources cover installation, setup, and advanced features, helping users optimize their system’s performance and address common issues efficiently. Regularly updated, they ensure users have the latest information and support.
Maintenance and Updates
Regularly clean cameras, check connections, and update firmware for optimal performance. Updates enhance security, fix issues, and add new features.
9.1 Regular System Maintenance Tips
Regular maintenance ensures optimal performance of your UT UL-Tech system. Clean camera lenses and housings to avoid dust buildup. Check all connections and cables for stability. Update firmware periodically to enhance security and functionality. Backup recordings and settings before performing any system changes. Test remote access regularly to ensure connectivity. Monitor storage capacity and delete unnecessary footage. Schedule routine checks to prevent hardware malfunctions and maintain reliable operation.
9.2 Updating Firmware and Software
Regular firmware and software updates are crucial for maintaining system performance and security. Access the update section via the DVR menu to check for the latest versions. Visit the official UT UL-Tech website to download updates, ensuring compatibility with your system. Use the provided USB update tool for a smooth installation process. Always backup data before updating and avoid interrupting the process. Restart the system after completion to ensure stability. Consult the user manual or contact customer support for assistance with any issues during the update process.